Next Steps
You've scaffolded your first micro-app and asked the Invent Technical team to deploy it to the store. Once the team confirms your app is deployed to the store, place it on a dashboard, configure its preview, and start turning the template into a real app.
Add Your App to a Dashboard
Your app is now deployed to the store, but it still needs to be placed on a dashboard before you can continue development. This is done in the Dashboard Composer (inside the Host application):
- Open the Dashboard Composer.
- Click Add micro app to open the Micro App Library.
- Find your new app, select it, then position and configure it on the dashboard.
For the full walkthrough and screenshots, see Adding Widgets to Dashboard.
Configure the Micro App Library Preview
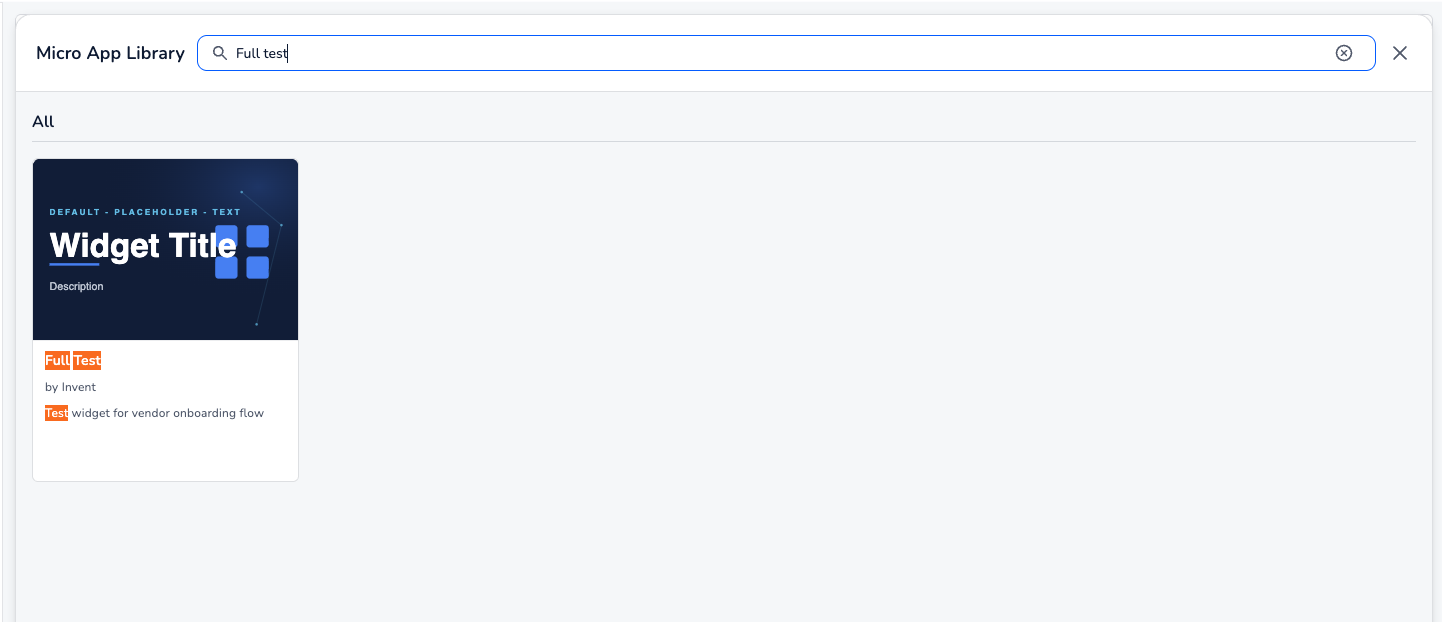
The preview is the card users see for your app in the Micro App Library. Fresh from the template, it shows the generic default placeholder — "Widget Title", "Description", and a DEFAULT · PLACEHOLDER · TEXT label:
Replace it with a preview that reflects your app:
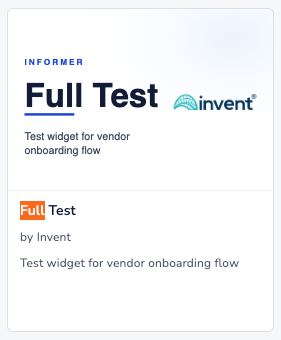
You can customize two parts of the card: the preview image in the top half, and the text in the bottom half (the app title, author, and description).
The preview is kept in sync with widget-config.json by the widget-update skill. To update it, navigate to your widget's repository, start Claude Code there, and describe the change in plain English:
cd path/to/your-widget
claude
For example:
- "Update the preview image to ./assets/new-preview.png."
- "Change the app description shown in the bottom half of the preview card."
Claude routes these to the widget-update skill, which updates the preview component, widget-config.json, and the TypeScript interfaces together so they stay in sync. For more detail, see Updating a Widget.
Recommended Development Workflow
As you build out the app, work in small, reviewable increments rather than one large change:
- Separate each feature into its own branch. Keep unrelated work isolated so it can be reviewed and merged independently.
- Open a merge request for each feature using the
gitlab-mrskill. - Tag the Invent Technical team as reviewers on every MR so we can review the code and approve it before it merges.
Write tests alongside each feature instead of leaving them all until the end. Incremental tests are faster to write while the code is fresh, catch regressions early, and keep each MR self-contained and easy to review.
Build out your app
- Updating a Widget — add, rename, or remove settings; change defaults; and update metadata, layout, and the Micro App Library preview with the
widget-updateskill. - Core Features — the building blocks of a widget: props, settings, data fetching, and state.
- Using the Component Library — build your UI with the shared Invent UI Kit components.
- Auditing Widget Design — run
/widget-design-guide auditto find and fix hardcoded colors, sizes, and inline styles.
Connect to data & services
- Adding OAuth Authentication — authenticate users and call protected APIs.
- Advanced Features — proxy calls, CRM integration, extensions, and cross-widget state sharing.
Not sure how to phrase a request to Claude? See the AI Assistant Workflow for how the skills fit together and the kinds of prompts that route to each one.
Before finalizing your app
Before an app is considered done, the Invent Technical team reviews it against the following. Aim for all of these as you develop:
- Functions properly — the app works as intended, with no broken flows or errors.
- Proper styling — the UI follows the Invent design system (run
/widget-design-guide auditto catch hardcoded colors, sizes, and inline styles). - Security check — a security review is conducted by our team.
- Adequate tests — meaningful test coverage across the app's features.
- Best practices & efficiency — the code follows basic coding best practices and is written efficiently.